The functionality Create a customized formfeature of K inventory’s online inventory management platform, enables you to customize reference forms by category.
You can add custom fields, sections and change the order of fields. This feature makes it easy to create forms tailored to your specific needs. Find out how you can use custom forms to improve your K inventory management.
1. Left-click on Settings then on Custom forms.
2. Click on Create a custom form.
3. Enter the name of the custom form and choose a category associate.
4. Use the actions available by clicking on ![]() in the block Form preview :
in the block Form preview :
- Add a sectionto add a section to your form.
- Create a new fieldthen enter the Name and choose a Field type.
- Cancel changes
5. Use the actions available by clicking on ![]() of a section:
of a section:
- Add fields
- Moves section up
- Move section down
- Rename section
- Delete section
6. To add custom fields to your section, click on ![]() and select the fields you wish to add.
and select the fields you wish to add.
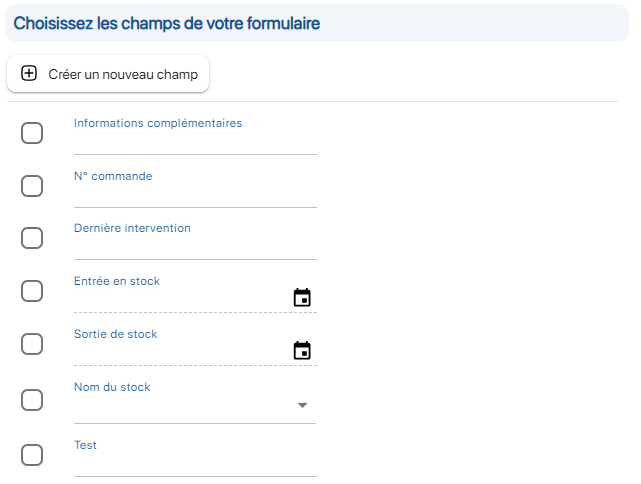
Add custom fields screen
7. Drag and drop your fields to change their location. You can move fields within the same section or within a different section of the form.
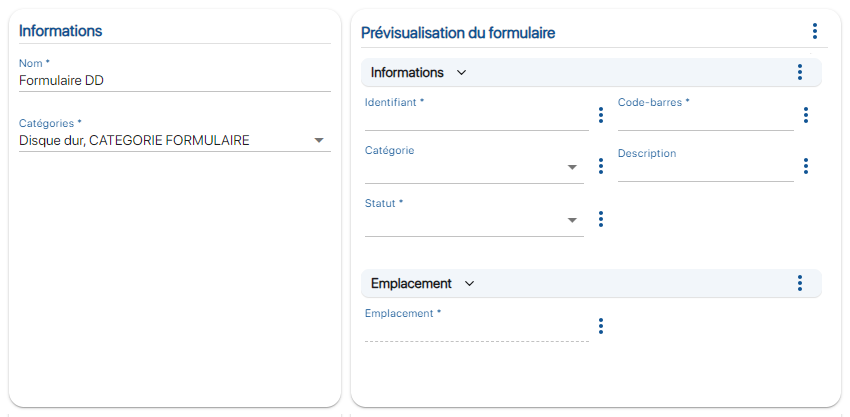 Creating a customized form
8. Use the actions available by clicking on ![]() :
:
- Edit field to access field parameters.
- Remove field to remove a custom field (only from this custom form).
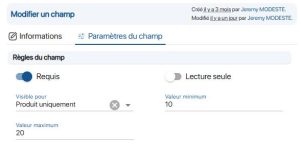
9. Click on the Modify a field. Various parameters are available:
- A field with a Required cannot be left empty by a user
- A field with a Read-only status cannot be modified once the reference has been created.
 Advanced champ
10. For Products and Variants and Lots only. Select display type :
- Field display on Product only
- Field display only for Variants and Lots only
- Display field on Products and Variants and Lots
11. Save your changes with the Save.
To continue browsing, here are a few articles related to this page: